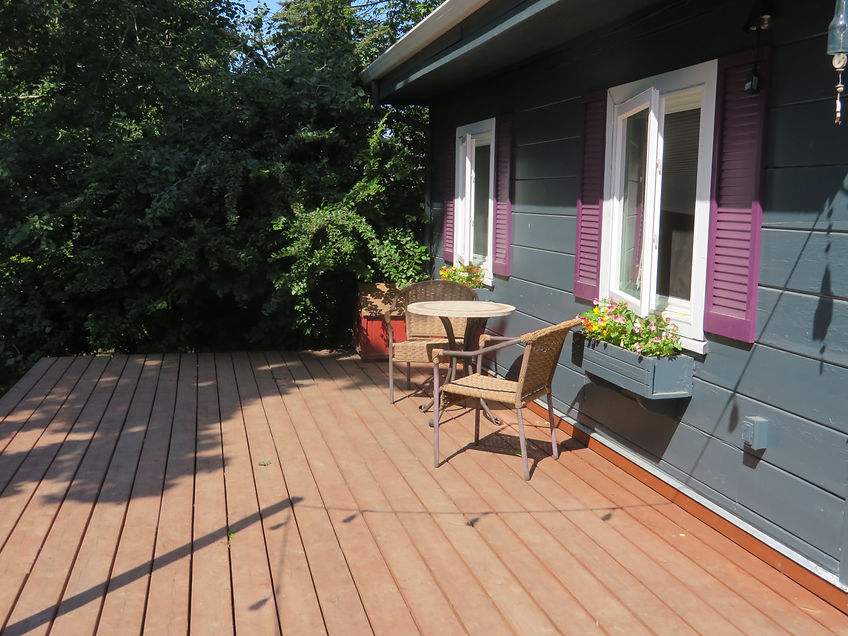
American Pro Porch Flooring can be installed on standard joists, spaced maximum of 12" center to center. Ideally, the joists should be sloped away from the structure at 1/4" per foot.
Porch board can be installed using the same tools used for wood porch products: pneumatic or electric nail gun or screw gun. Fastened with either trim head screws or serrated nails. Minimum #7 X 2" 305 stainless steel trim head screws with# 17 drill point. Nails should be minimum 2" barbed or serrated steel cleat "T" nails or "L" cleats.
Begin installation with groove side of the planks against the structure or at the outside edge of the porch if boards are to run perpendicular to structure. Use one fastener through the face of the board into the joists, as close to the structure as possible. Then attach at each joist by driving a fastener through the tongue at a 30–45-degree angle. (Be sure to countersink screws to allow for insertion of next board. Fasteners should seat l/16" into product.) Insert the grooved edge of the next board over the exposed tongue. Adjust the top gap between the boards to desired look and be sure to maintain that consistently throughout the installation. Attach at joists with fastener through the tongue as before. Repeat above steps until the edge of the porch is reached. Final board may require removal of tongue or rip cut to desired width.
American Pro Porch Flooring will experience minimal changes with expansion/contraction when installed properly. Board should be installed as soon as possible after cutting to avoid any temperature changes. End butts and miters should be kept tight. If installing in temperatures below 32 degrees F (not recommended) leave a 1/16" gap. Avoid installation at high temperatures.


